The home isn’t just the house - Garden clearing
My 'garden' (better known as the local dumping ground) was due for a cleanup. Weeds, broken things and dead hamsters - it was time for all of it to go!
For the last six months my garden has been used as a general dumping ground. The previous owners left an unreasonable amount of tat in it – rotten shed, broken garden furniture, dead hamsters (yes I’m not joking about that one) and even deader plants. The only thing that flourished in the garden was the weeds. But now the summer is here, I decided that it was time for the garden to be cleared out and turned into a space I could actually relax in, rather than a bottomless pit of waste material.
I started by clearing out the rubbish. Donning my work boots and gloves, I hired a mini skip (love those mini-skips, seriously) and started carting the rubbish out of the garden. Unfortunately my garden doesn’t have any rear access, so everything that goes in and out has to go through the house. To try and keep the mess to a minimum I laid down dustsheets through the house and bagged all the waste before moving it. I used garden rubble sacks, which are much stronger than normal bin liners and can be bought at most hardware stores. The main thing to remember when using these is not to overfill them, as you still need to be able to lift them.It took me the best part of a day to clear the garden of the weeds, empty paint pots and to dismantle the existing rotting shed.
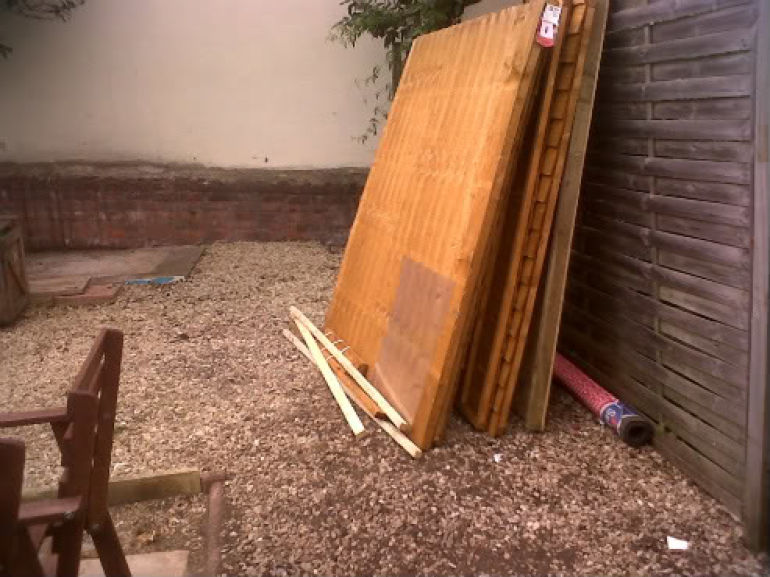
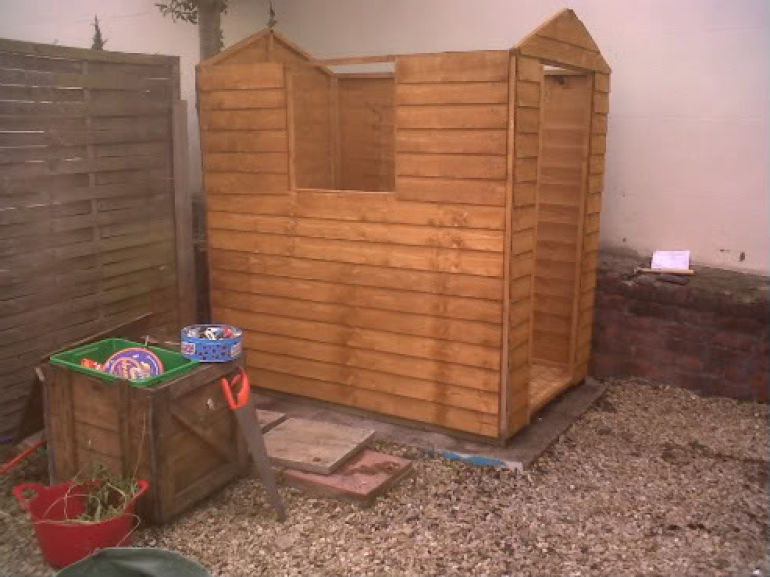
I then knocked together some flat pack garden furniture that I bought from IKEA and put these on the patio. This patio had originally been surrounded by some utterly bemusing picket fencing. Taking the fence down had been easy enough, but the posts were sunk into concrete underneath the patio, so there was no way of removing them without lifting the patio. As I didn’t really want to do that I decided to compromise by cutting off the posts as close to the ground as I possibly could. I dug out my trusty chainsaw for this and soon made short work of the posts.My next step was to build a new garden shed as I’d demolished the old rotting one. I bought a flat-packed kit for $200. As you can see in the picture below the concrete slab on which the old shed had rested was in good condition, so I could reuse that.
Building the shed was actually much harder than I thought it was going to be. I’d bought the cheapest shed kit going and nothing was quite square. It took a friend and I the best part of five hours to get it securely constructed. The instructions were vague, and if we’d been less determined I suspect we might have given up all together. I could go into a rant about putting together IKEA things here but on the whole, I've been okay.
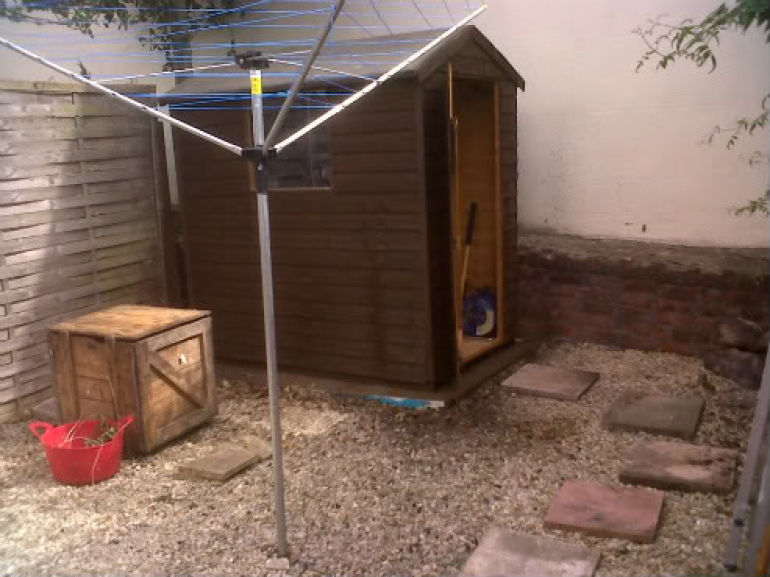
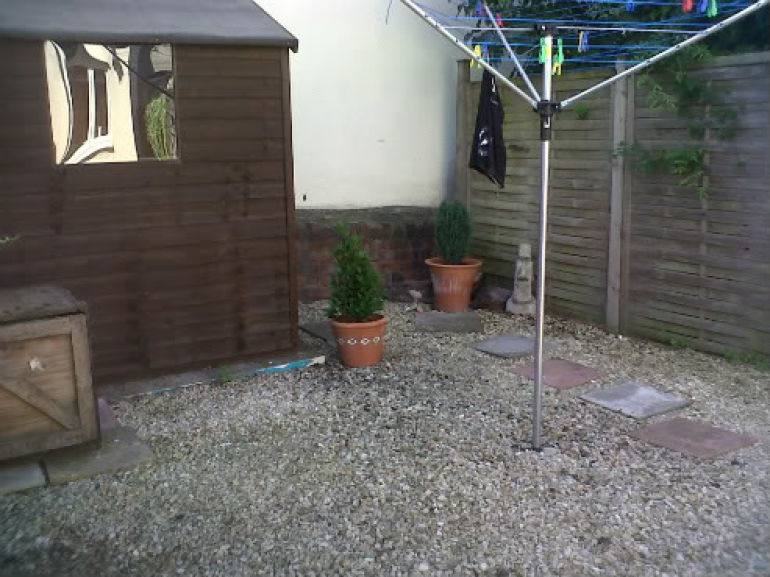
But we finally managed to wrench the shed together. I then stained it with a weatherproof wood treatment to try and prolong its life. It’ll need re-staining again at the end of the summer and probably again next spring. Next I raked out the gravel and sterilized it with a weed killer to try and prevent the re-occurrence of the waist high weeds. Ideally the garden could use another ton of gravel thrown over the top, but I think that’s going to have to wait until year. I had some old paving stones lying loose in the garden and I used these to create a path through the gravel. I laid them out first to make sure they were in the positions that I wanted before I started digging them in.
The paving stones were dug into the gravel and levelled off. Under all the rubbish I found a socket set into the ground for a clothes drier, so I installed one. I then brightened everything up with some potted plants, a few climbers and heathers, as well as a concrete statue.
So, things to remember when clearing a garden:
- don’t over fill the rubble sacks. You’ve still got to carry them to the skip.
- going for the cheapest shed may not be the best option. You get what you pay for.
- if you’re at all concerned about your carpentry skills then get a professional in to build the shed for you.
- treat any exposed wood (sheds, fence panels, garden furniture) it’ll extend its life and save you money in the long run.
I may not be going to win any garden shows, but now I can at least use my garden properly. Time to light the BBQ I think.


